中文
Make Your Own Challenge Coin
To make your own challenge coin, choose a purpose, plan the front and back, prepare your artwork, select suitable specifications, and approve a production proof before manufacturing. You can start with a finished logo, a hand-drawn sketch, or a written idea.
A custom metal coin can recognize an achievement, commemorate an anniversary, or represent a team. A clear message provides the foundation for the design. This guide helps you turn that message into an organized brief and a manufacturable product.
Start Your Custom Coin Project
- Already have artwork? Email the design with your estimated quantity and required arrival date.
- Only have an idea? Use the copyable design brief below to describe both sides.
- Ordering a batch? Baijisen’s custom challenge coin page lists a 30-piece minimum. Confirm the requirements for your particular design and versions.
- Manufacturing location: Kunshan, China. Discuss destination, shipping, and delivery terms with your quotation.
You do not need to decide every specification before contacting us. Provide the essential content and explain where you need recommendations. We can then discuss artwork preparation, manufacturing options, and quotation requirements.
Can You Make Your Own Challenge Coin?
Yes. You can develop a personalized coin concept using your own logo, artwork, wording, and design preferences. You do not need to operate metal-forming or plating equipment to create a coin that represents your organization.
There are two different approaches: making a coin yourself with the tools and materials available to you, or designing a coin and commissioning professional manufacturing. Your intended use helps determine the appropriate route.
Design Your Own Coin and Work with a Manufacturer
For a custom manufacturing project, you define the message and approve the design. The manufacturer evaluates production feasibility, confirms the specifications, and produces the coins according to the agreed requirements.
A sketch, logo, written brief, or reference image can begin the conversation. Before production, these materials need to become a clear proof that identifies the artwork, dimensions, colors, metal areas, and other relevant details.
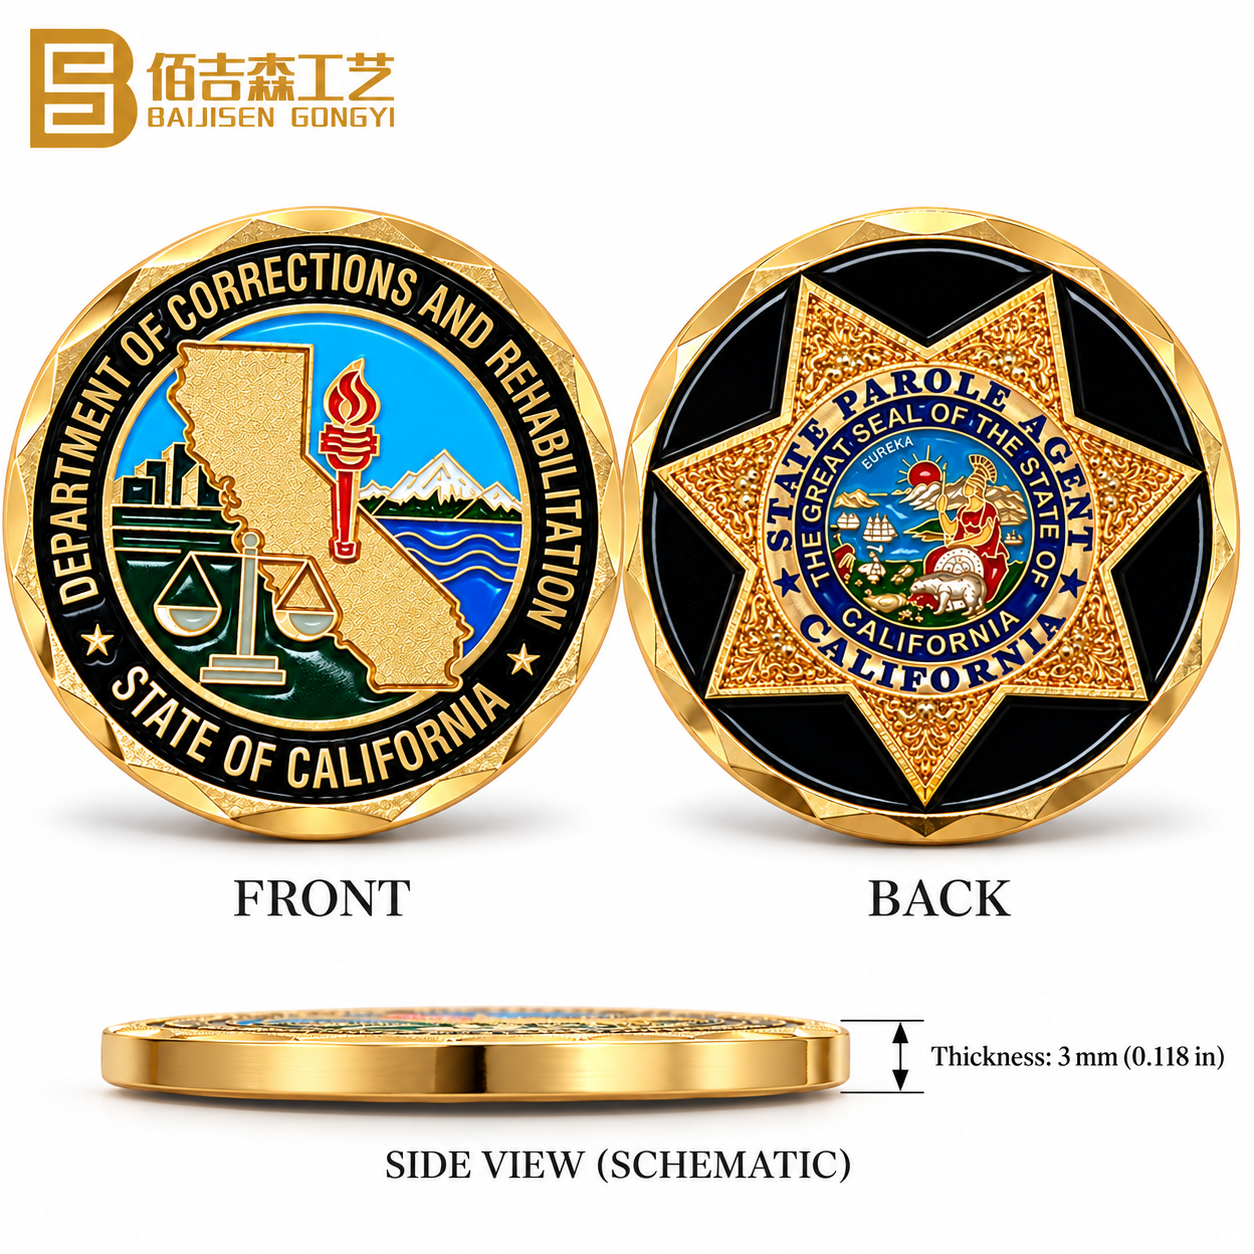
DIY Coins vs. Professionally Manufactured Coins
| Consideration | DIY production | Professional metal manufacturing |
|---|---|---|
| Typical purpose | Craft experiments, concept models, and personal projects | Recognition gifts, commemorative items, and batch orders |
| Design execution | Depends on personal equipment and skills | Evaluated against the selected manufacturing process |
| Revisions | Made through personal trials and material changes | Made through artwork revisions and agreed sampling |
| Main investment | Tools, materials, and trial time | Artwork preparation, tooling, production, packaging, and shipping |
| Key concern | Whether the idea can be made with available resources | Whether the order meets specifications and delivery requirements |
If you need a batch of metal coins with consistent artwork and specifications, start with a project brief and quotation request.
Define Your Coin’s Purpose and Message
Your Custom Coin Project in Six Steps
- Define: Identify recipients, purpose, and essential content.
- Prepare: Provide the logo, exact wording, and reference images.
- Select: Discuss dimensions, colors, finish, and packaging.
- Review: Check the production proof and sampling needs.
- Confirm: Agree on quantity, quotation scope, and delivery terms.
- Produce and deliver: Proceed with the agreed manufacturing and shipping arrangements.
Before choosing a diameter or finish, decide why the coin is being made. A clear purpose helps you prioritize the artwork and avoid adding details that distract from the main message.
Identify the Recipients and Occasion
Corporate recognition coins may focus on a company logo, an award theme, and organizational values. Anniversary coins can highlight a milestone number and commemorative dates. Team coins may emphasize a shared emblem or identity. Event coins should make the event name and theme easy to recognize.
- Who will receive the coin?
- Is it for recognition, commemoration, gifting, or collecting?
- How will it be presented or distributed?
- Does it need a gift box or display packaging?
- Will there be different versions, names, or serial numbers?
Choose One Main Visual Message
Give the design a focal point. An anniversary number, organizational emblem, or symbolic image can lead the composition, while dates and supporting text take secondary positions.
Separate the content into essential elements, supporting information, and optional details. This makes layout decisions easier and helps preserve the coin’s meaning if the design needs to be simplified.
Set an Initial Budget, Quantity, and Delivery Target
You do not need every specification to request initial guidance. However, an estimated quantity, budget direction, delivery destination, and required arrival date help the manufacturer suggest realistic options.
For an event order, provide the date you need to receive the coins. Artwork revisions, internal approval, sampling, production, and shipping all need to fit the schedule.
Prepare Your Artwork and Design Brief
You can begin without a finished design. What matters is giving the manufacturer enough information to understand the project and identify the decisions that remain open.
If You Only Have an Idea
Describe the purpose, recipients, front and back content, and desired style. A useful initial brief might look like this:
We need a company anniversary challenge coin for employees and business partners. The front should feature our logo and anniversary number. The back should include commemorative years and a short appreciation message. We prefer a formal appearance suitable for a presentation box. Please recommend dimensions and manufacturing options.
When attaching reference images, explain what you like about them: the layout, metal finish, border, color treatment, or packaging. This helps identify the design characteristics you want.
If You Already Have a Logo or Artwork
Editable source files or vector artwork can make contours and lettering easier to review. Clear image files can support initial communication, but may require additional preparation for manufacturing. Confirm the accepted file formats with the manufacturer.
- Provide original logo or artwork files where available.
- Supply all text separately in a copyable format.
- Identify elements that must stay unchanged.
- Explain which details may be adjusted for production.
- Include brand color requirements and relevant references.
Use artwork and emblems you are authorized to reproduce. For a logo that follows brand guidelines, include those guidelines with the files.
Specify Colors Clearly
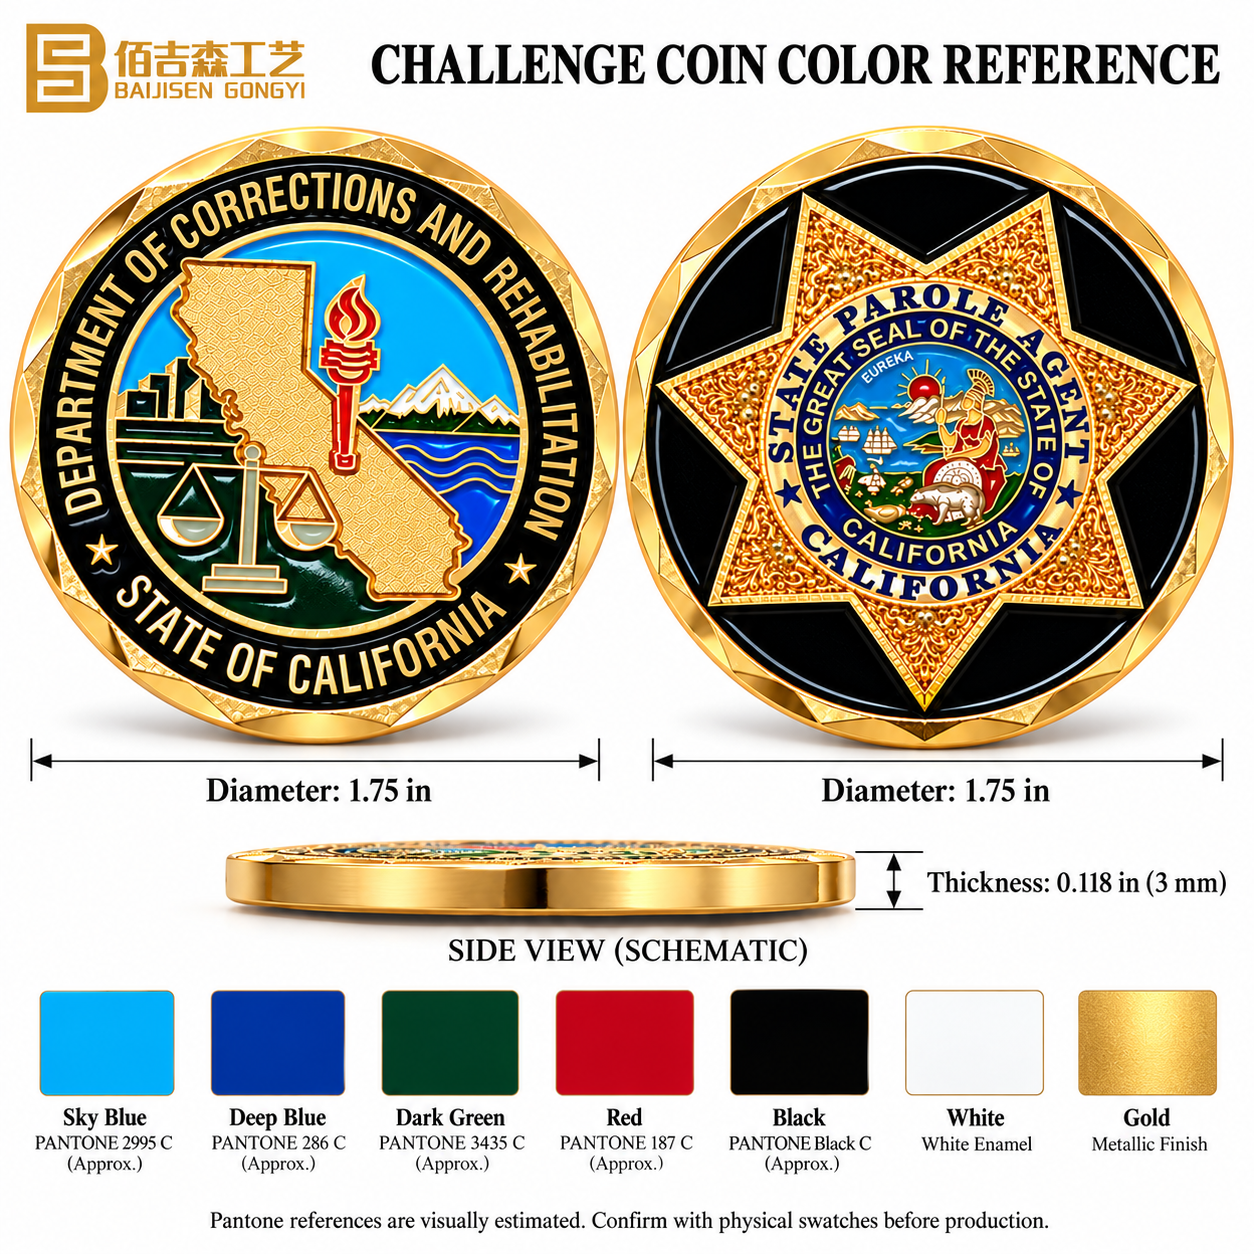
If your brand uses defined colors, provide the relevant color references and show where each applies. A list of color codes without a matching layout can still lead to uncertainty.
Screen colors, artwork previews, and finished materials can look different. Agree on how critical colors will be checked and whether a physical sample is needed. Also distinguish metallic appearance from the base material and plating specification.
Using AI-Generated Coin Concepts
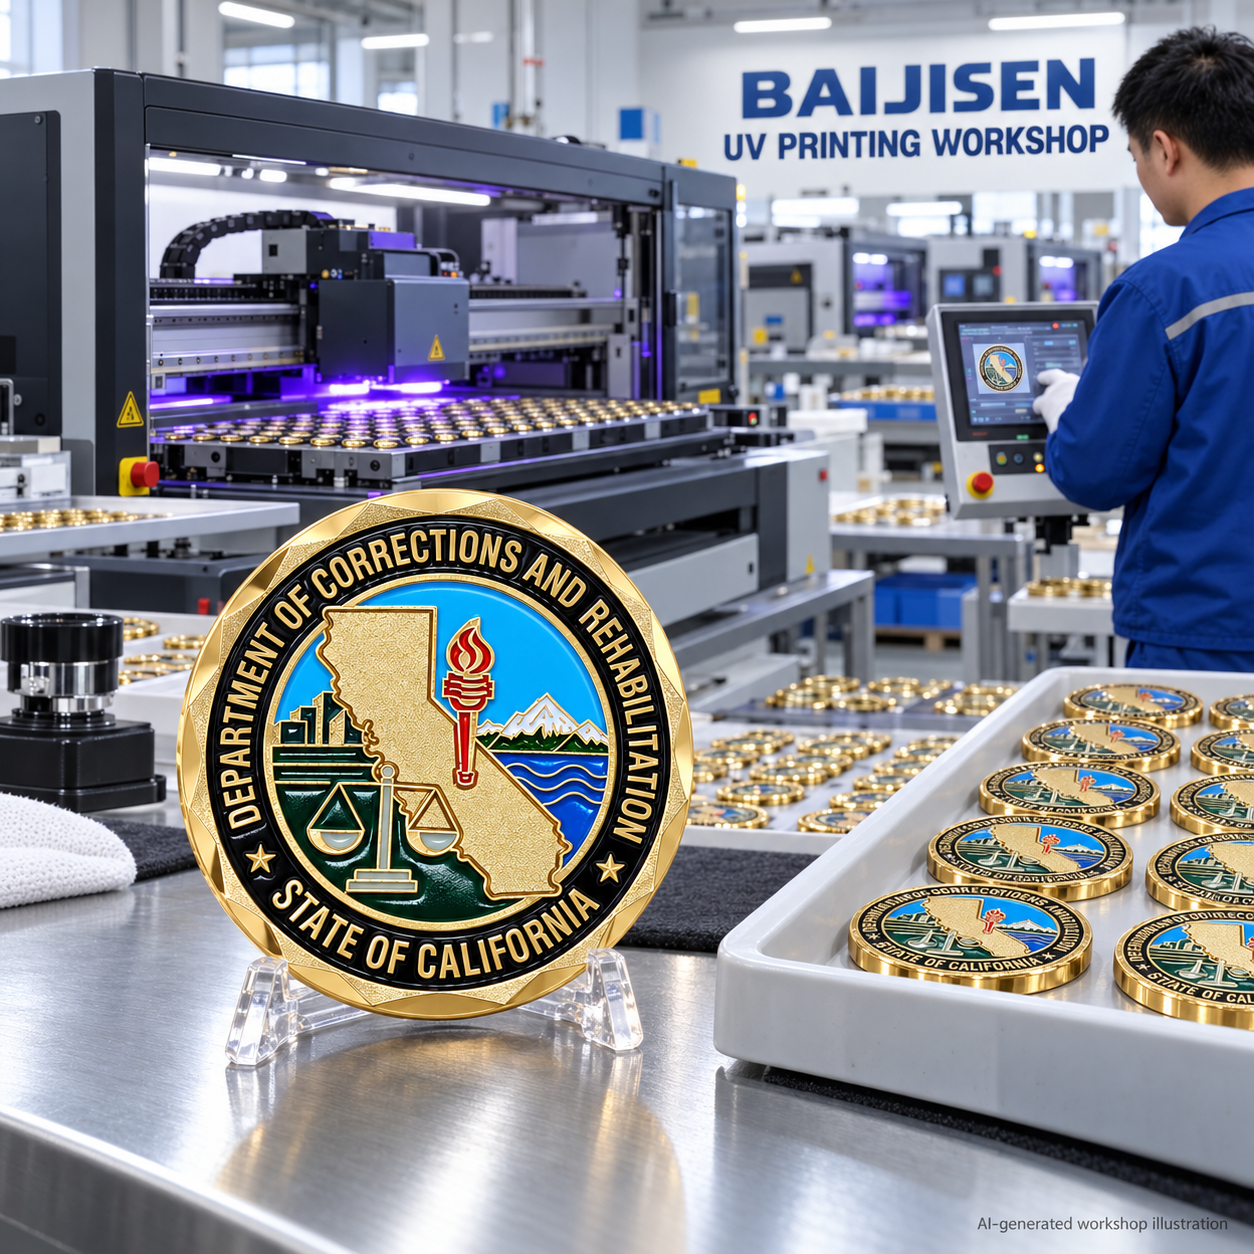
AI-generated images can help explore a theme or communicate a style. They still need to be checked and converted into production instructions. Verify all lettering, logo details, and the relationship between both sides.
Rendered gradients, shadows, and relief effects may need to become defined metal levels, enamel areas, or a suitable printing treatment. Tell the manufacturer which visual elements are essential and which can be adapted.
Challenge Coin Design Brief Checklist
| Item | What to provide |
|---|---|
| Purpose | Recognition, anniversary, team gift, event, or other use |
| Front design | Main artwork, logo, name, and theme text |
| Back design | Dates, motto, additional imagery, or numbering |
| Dimensions | Preferred size and thickness, or a request for recommendations |
| Shape | Round or a specified custom outline |
| Finish and colors | Desired appearance, color references, and important matching requirements |
| Quantity | Total quantity and quantity per version |
| Packaging | Protective packaging, display case, or gift box requirements |
| Delivery | Destination and required arrival date |
For undecided items, write “please recommend” and explain your priorities. This is more useful than selecting specifications without understanding their effect.
Copyable Challenge Coin Design Brief Template
Copy the following template into your email, fill in the details you know, and attach your logo or reference artwork. For undecided specifications, write “please recommend.” This template organizes your requirements before a production drawing is prepared.
Project or organization:
Coin purpose and recipients:
Front artwork and exact wording:
Back artwork and exact wording:
Quantity and number of versions:
Preferred diameter or maximum size:
Preferred thickness:
Shape:
Metal finish:
Color references:
2D details or 3D relief preference:
Individual names or numbering, if needed:
Packaging:
Delivery country and postal code:
Required arrival date:
Budget direction, if available:
Elements that must remain unchanged:
Items where recommendations are needed:
Example of a Completed Initial Brief
The following is an illustrative design request, not a customer order.
We are planning an anniversary coin for employees and business partners. We need 100 identical coins. The front should feature our company logo and anniversary number; the back should contain the commemorative years and an appreciation message. Please compare 1.75-inch and 2-inch layouts. We would like a formal metal finish with our brand colors and individual presentation boxes. We will provide the exact text, logo file, delivery postal code, and arrival deadline by email. Please recommend thickness and a suitable color process.
This request gives a manufacturer enough context to identify open decisions. It does not lock you into a size or process before the artwork has been reviewed.
Plan the Front and Back of Your Challenge Coin
Use the two sides to organize the story. A focused front and a complementary back are usually easier to understand than a single side crowded with every detail.
What to Put on the Front
The front can feature your main emblem, logo, anniversary number, or representative image. An organization name or short theme can support it without competing for attention.
Review the design at approximately its finished size. If the main image becomes hard to recognize, simplify the composition before adding further effects.
What to Put on the Back
The back can carry a date, motto, event name, appreciation message, supporting image, or project-specific number. The two sides can be different while sharing a consistent approach to typography, colors, borders, and metal finishes.
Keep Text and Details Readable
Artwork displayed on a large screen can hide problems that appear at coin size. Check small lettering, thin strokes, tightly packed symbols, and narrow spaces between elements.
- Shorten wording where possible.
- Give the main image enough space.
- Keep ring text clear of the selected edge treatment.
- Ask the manufacturer to assess fine lines and small color areas.
- Confirm which details can be simplified without changing the identity.
Minimum line widths and lettering sizes depend on the process and design. Ask for a project-specific assessment rather than assuming one limit applies to every coin.
Confirm the Orientation of Both Sides
If both sides have directional artwork, specify their relative orientation. Two separate front and back images do not fully explain how the finished coin should look when turned over. Record the required alignment in the approval materials.
Choose a Size, Shape, and Thickness That Fit Your Design
Dimensions affect design space, weight, packaging, and cost. Choose them together with the artwork rather than as isolated specifications.
Choose a Size That Fits the Content
Diameters such as 1.5, 1.75, and 2 inches can serve as starting points for discussion. The following values are exact unit conversions, not a recommendation that every design should use one of these sizes.
| Diameter | Metric equivalent | Design question |
|---|---|---|
| 1.5 inches | 38.10 mm | Is the composition simple enough to keep text and symbols clear? |
| 1.75 inches | 44.45 mm | Do the central image, ring text, and edge fit comfortably? |
| 2 inches | 50.80 mm | Does the additional space improve readability and hierarchy? |
A larger coin offers more room, but also changes other requirements. Compare actual-size layouts or similar physical items before deciding.
Round Coins or Custom Shapes?
A round coin can support a centered composition and ring text. A custom outline can reinforce a logo or subject, but needs review for narrow projections, deep recesses, sharp corners, and packaging fit.
Use the outline to strengthen the message. Complexity alone does not make a design more effective.
Confirm Thickness and Maximum Dimensions
Discuss thickness together with relief, manufacturing method, desired feel, and budget. Clarify whether the specified thickness refers to the body or includes raised features.
For fitted cases or box inserts, confirm the maximum finished dimensions. Greater thickness does not automatically indicate better quality; detail definition, finish, color application, and consistency also matter.
Choose a Finish and Color Process for Your Artwork
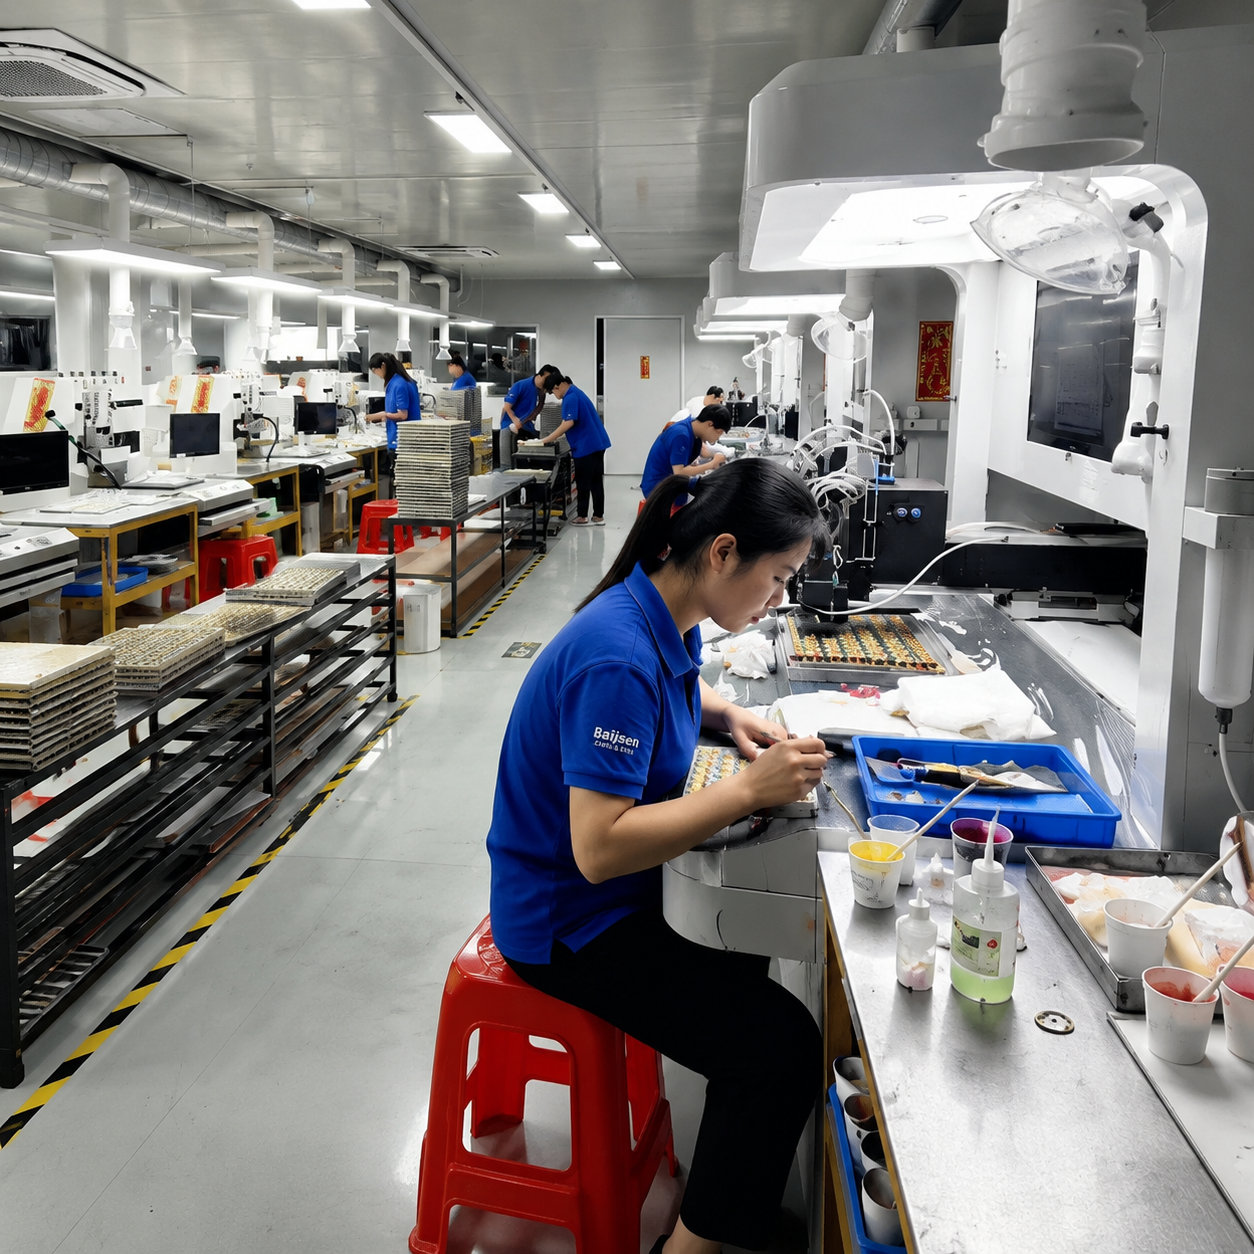
Choose treatments that support the design. Begin with the appearance and feel you want, then ask which manufacturing options can deliver it.
Match the Process to the Design
| Design priority | Option to discuss | Why it may fit |
|---|---|---|
| A logo with separate solid colors | Enamel with defined metal borders | Organized color areas can preserve a clear logo structure; assess fine lines and small spaces. |
| A comparatively smooth colored surface | Hard enamel | The surface treatment can support this appearance; confirm compatibility with the chosen detail and finish. |
| A portrait or dimensional subject | 3D relief | Sculpted levels can express form; simplify details that do not work at the selected size. |
| A metal-led design without color | Relief with contrasting surface textures | Texture and level differences can separate the image from its background. |
| A photo or continuous gradient | A suitable printing method or simplified artwork | Continuous tones need a different assessment from separated enamel areas. |
These are starting points, not a guarantee that every combination can be produced. Choose the visual priority first, then resolve the specifications in the proof.
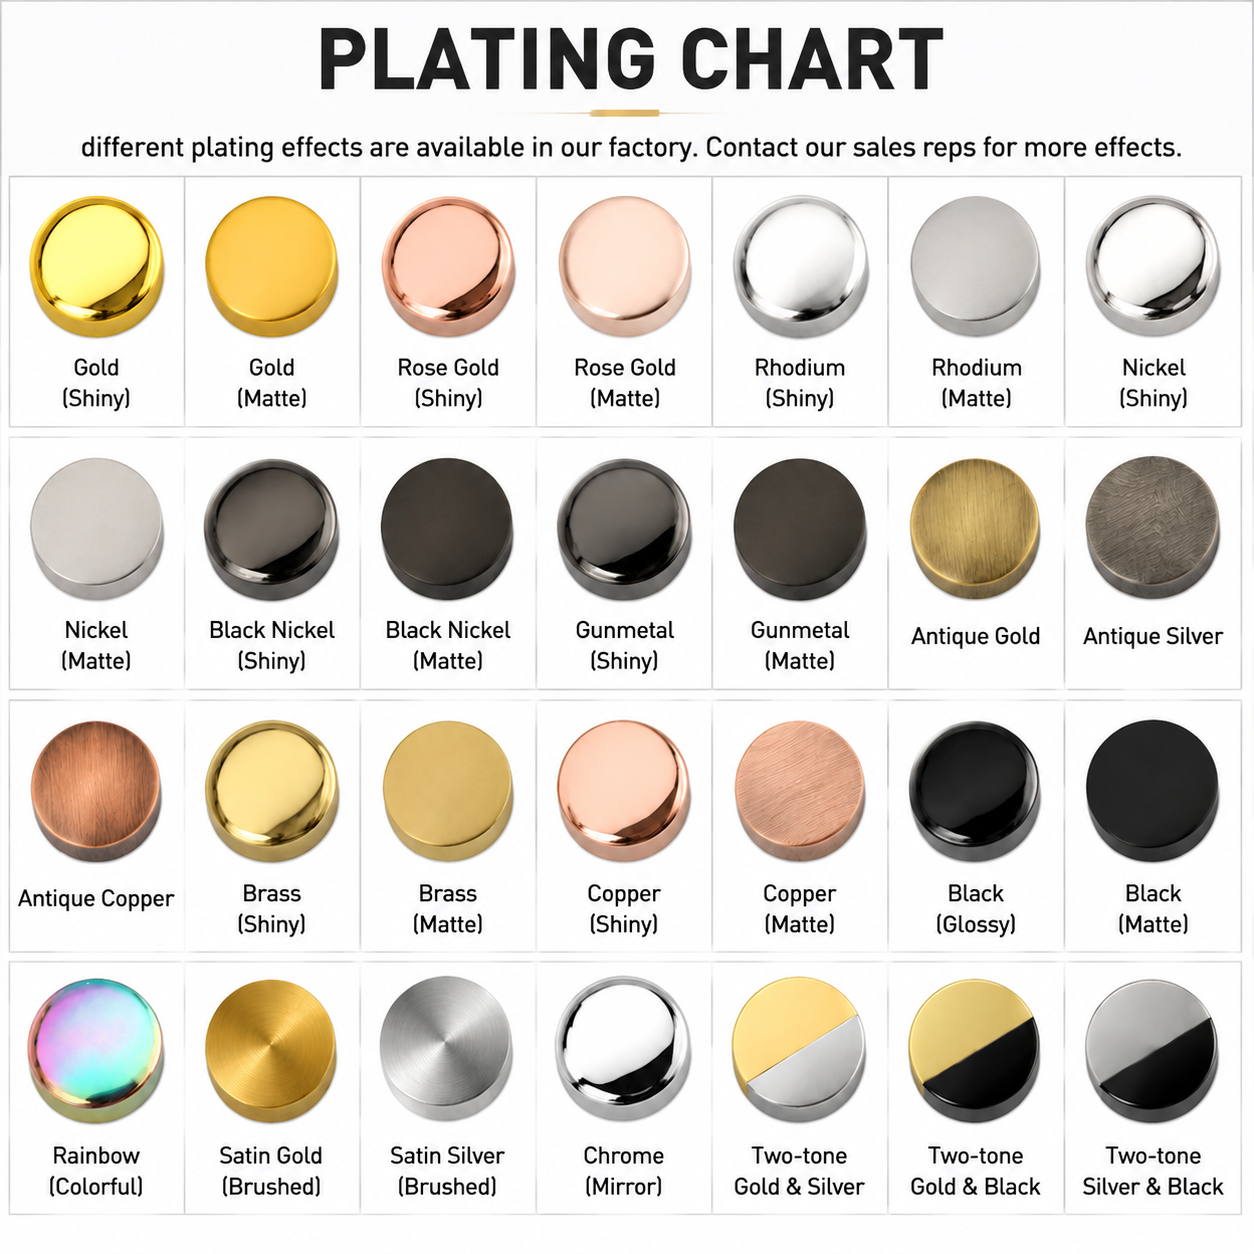
Choose a Metal Finish
Bright, antique, and darker metal effects create different visual results. Reflective areas need to be assessed for readability at different viewing angles. Antique effects can emphasize contrast between elements, while darker treatments need sufficient contrast with lettering and color areas.
Ask whether the finish supports the artwork, matches an existing series, and can be checked against a physical reference. Specify the actual finish and material requirements rather than using “gold” or “silver” as an ambiguous description.
Soft Enamel, Hard Enamel, or No Color Fill?
Soft enamel generally creates a height difference between recessed color areas and raised metal lines. Hard enamel typically involves filling and surface finishing to produce a flatter surface. Uncolored designs rely on metal, relief, texture, and finish for contrast.
| Option | Visual consideration | What to confirm |
|---|---|---|
| Soft enamel | Color areas and visible metal separation with surface depth | Suitability of small color areas and fine dividing lines |
| Hard enamel | Color combined with a comparatively level finished surface | Detail requirements and compatibility with other selected treatments |
| No color fill | Metal texture, relief, and background contrast | How symbols and text remain clear without color separation |
Select the treatment for the design and intended use. Confirm the manufacturer’s specific process instead of assuming the same result from every supplier.
2D Details or 3D Relief?
Logos, text, and defined outlines may be well served by clear, relatively flat levels. Portraits, animals, and architectural subjects may call for sculpted relief. The appropriate choice depends on how the subject should be represented.
For relief artwork, review the relationship between the main subject and background, the available space for details, and the interaction with color. Lighting in a rendering helps visualize form but does not describe how the coin will look under every real-world condition.
Photos, Gradients, and Complex Color
A photographic design needs its own assessment. Detailed tonal changes may require artwork simplification or an appropriate printing option rather than conventional separated enamel areas.
State whether faithful photo reproduction or a metal interpretation is the priority. These are different design objectives.
Edges, Numbering, and Additional Features
Evaluate available edge styles with the border and ring text. The selected edge may reduce the space available for other elements.
For engraving, numbering, cut-outs, or personalized names, confirm placement, content, quantity, and production implications. Submit variable information in a clear spreadsheet and check it for duplicate entries, omissions, and sequencing errors.
Design Example: Turning an Anniversary Idea into a Production Brief
This example illustrates a design decision process. It does not describe a completed Baijisen customer project.
Suppose a company wants to combine its logo, a building silhouette, an anniversary number, a slogan, and commemorative dates. The main challenge is deciding which information should lead at the finished size.
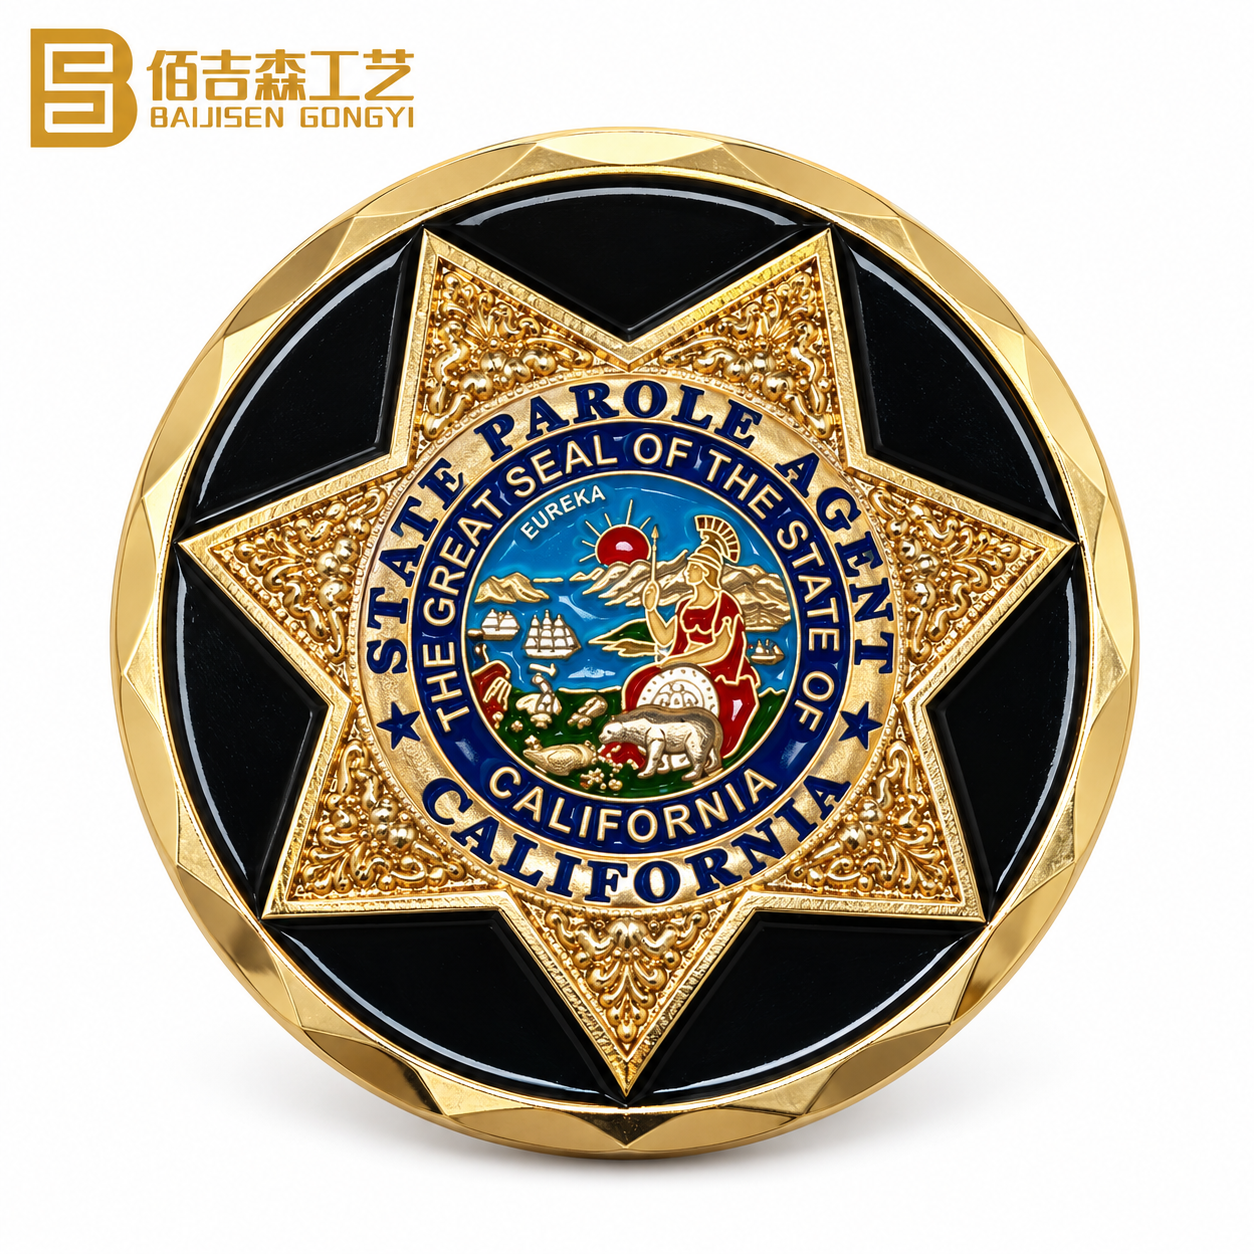
| Initial issue | Proposed adjustment | What to verify |
|---|---|---|
| Logo, building, and number compete for space | Make the anniversary number the main element and simplify the background | The logo remains recognizable at actual size |
| The slogan crowds the front | Move the appreciation message to the back | Exact wording and line breaks |
| Brand colors appear only as screen colors | Provide color references and label each area | Color confirmation method and sampling needs |
| The presentation box is undecided | Choose the box and insert with the dimensions | Maximum thickness and fit |
The result is a clearer brief: one visual focus on the front, supporting wording on the back, identified color areas, and coordinated packaging. A manufacturer can then assess sizes, fine detail, and the appropriate process before issuing a final proof.
What to Request When Comparing the Proof and Sample
Check text and logo details against the approved artwork. Review the surface finish, relief, color placement, overall dimensions, and packaging against the agreed specifications. Keep the approved file version and sample records together for future orders.
How Much Does It Cost to Make Your Own Challenge Coin?
There is no single price for every custom coin. A meaningful quotation requires the design, specifications, quantity, packaging, and delivery conditions.
What Affects the Price?
- Quantity and versions: Tooling and preparation need to be considered across the order; several designs can have a different cost structure from one design.
- Size, thickness, and material: These affect material use, processing, weight, and shipping.
- Artwork and construction: Complex relief, custom outlines, and special structures may need additional work.
- Finishes and features: Enamel, printing, engraving, and numbering should be included in the scope.
- Packaging and delivery: Boxes, inserts, printed packaging, and the destination affect the total.
Compare the Complete Quote
| Cost item | Question |
|---|---|
| Unit price | Which quantity, specification, and artwork version does it cover? |
| Tooling or setup | Is it separate or included? |
| Artwork changes | What preparation and revision work is covered? |
| Samples | Are sample production and shipping included? |
| Additional features | Are engraving and personalization included? |
| Packaging | What exact packaging is quoted? |
| Shipping | Is delivery included, and to which destination? |
| Delivery terms | What other charges or responsibilities apply? |
| Reorders | Can existing tooling be reused, and under what conditions? |
Align specifications before comparing totals. A quote including gift boxes and delivery cannot be compared directly with a production-only quote.
Use a Clear Cost Structure
For planning, separate the quoted costs into product quantity multiplied by unit price, any separate tooling or setup, agreed sampling, packaging, and shipping. Include other charges only where they apply under the quotation terms. Do not add an item twice if it is already included in the unit price.
To compare two options, keep the artwork and delivery terms the same. For example, request one proposal with protective packaging and another with presentation boxes. Ask the quotation to identify exactly which costs change.
For an initial price discussion, send the front and back concept, estimated quantity, preferred size, packaging, and destination. These details are more useful than asking for a price without a specification.
Keep the Design Within Your Budget
Protect the main image and message first. Simplify secondary elements, choose dimensions that suit the content, and reserve added features for details that matter. Select packaging according to how the coin will be presented.
Compare quantities that reflect actual demand and consolidate revisions before production approval. If future orders are likely, ask about tooling retention and reorder conditions.
What Quantity and Timeline Should You Plan For?
Can You Order One Coin or a Small Batch?
Minimum quantities depend on the supplier and manufacturing method. Newly tooled metal coins, engraved stock blanks, and insert-style products are different formats and should be compared accordingly.
Baijisen’s custom challenge coin product page currently lists a minimum order quantity of 30 pieces. Confirm the requirements for your specific artwork, versions, and manufacturing options when requesting a quotation.
Separate Each Stage of the Schedule
- Requirements: Collect artwork and establish the project scope.
- Design approval: Review the layout and confirm specifications.
- Sampling, if agreed: Make, ship, and review a sample.
- Batch production: Manufacture and inspect the order.
- Packaging and delivery: Pack, dispatch, and receive the coins.
Ask when the quoted lead time starts and whether it includes sampling and shipping. A production estimate should not automatically be treated as the arrival date.

Work Backward from Your Event
Include time for internal approvals, revisions, sample delivery, and logistics. Tell the manufacturer your event date, latest acceptable arrival date, destination, and whether sample approval is essential.
If the schedule is tight, discuss feasible options at the beginning. A deadline is easier to manage before the design and process are fixed.
Review the Production Proof Before Manufacturing
Proof approval turns a concept into agreed production requirements. Do more than approve the overall appearance: check the content and specifications that determine the finished order.
What Should the Proof Show?
The proof and supporting approval materials should identify both sides, dimensions, thickness, orientation, raised and recessed areas, colors, metal finishes, edges, and any additional features. Packaging and variable data should be confirmed where relevant.
If an effect cannot be explained clearly in a drawing, add written instructions or a reference sample. Avoid relying on an unspoken assumption.
Pre-Production Approval Checklist
| Check | Review details |
|---|---|
| Text | Spelling, capitalization, punctuation, names, and dates |
| Artwork | Logo proportions, orientation, and essential features |
| Both sides | Complete content and specified relative alignment |
| Dimensions | Units, maximum size, and definition of thickness |
| Metal and color areas | Raised levels, recesses, exposed metal, and color references |
| Finish and features | Consistency with the quotation and agreed references |
| Versions and quantities | Correct artwork and variable information for each version |
| Packaging | Box format, fit, and any printed content |
| Approval record | Final file version and designated approver |
Where practical, have one person check brand content and another check purchasing requirements. After a revision, review the entire proof again, not just the changed section.
Digital Proof vs. Physical Sample
A digital proof helps confirm layout, wording, color placement, and instructions. A physical sample allows closer assessment of actual size, weight, texture, reflectivity, relief, and packaging fit.
Discuss sampling when critical colors, complex surfaces, or fitted packaging require it. Confirm sample fees, timing, revision terms, and the artwork version the sample represents.
Common Mistakes When Designing Your Own Challenge Coin
| Mistake | Potential issue | Better approach |
|---|---|---|
| Putting everything on one side | Weak hierarchy and difficult reading | Distribute content across both sides |
| Reviewing only enlarged artwork | Small details disappear at finished size | Review an actual-size layout |
| Leaving color and metal areas undefined | Different interpretations of the design | Label colors and surface levels |
| Treating a rendering as a complete specification | Unclear expectations for shine or relief | Confirm process details and sampling needs |
| Missing spelling or date errors | Incorrect content enters production | Check a separate text list and final proof |
| Comparing unit prices alone | Incomplete cost comparison | Compare the full quotation scope |
| Choosing packaging at the end | Fit or schedule problems | Confirm packaging with dimensions |
| Using multiple artwork versions | Changes are lost or conflicting | Identify one final version and approver |
| Not stating the arrival deadline | The schedule misses the event requirement | Provide the required receipt date early |
Clear information, consolidated revisions, and documented approval reduce avoidable uncertainty throughout the project.
Request Your Custom Challenge Coin Quote from Baijisen
Kunshan Baijisen Craft Gift Co., Ltd. provides custom challenge coin and metal gift manufacturing in China, including OEM and ODM projects. Submit your artwork or concept to discuss design preparation, specifications, packaging, and delivery.

Have Artwork Ready?
Email your logo, sketch, or reference design with the exact front and back wording. Include quantity, preferred size, destination, and required arrival date. If you have multiple versions, state the quantity for each.
Email Artwork and Request a Quote
Still Developing Your Idea?
Complete the design brief template and identify the choices where you need guidance. You can begin with the purpose and essential wording rather than a finished drawing.
Email: postmaster@baijisen.com
Product information: Baijisen custom challenge coins
For production background, read how custom challenge coins are manufactured . For supplier comparisons, see how to choose a custom challenge coin maker . More company information is available on our About Us page.
Frequently Asked Questions
Can I make my own challenge coin without design experience?
Yes. Start with the purpose, wording, logo, and reference images. Explain which elements are essential. Confirm the available design assistance, revision scope, and any associated fees with the manufacturer.
Can I design a challenge coin online?
You can use design software or an online tool to develop the layout, then submit the result for manufacturing review. An online preview is a concept until dimensions, text, metal levels, colors, and other specifications are confirmed. You can also use the written template in this guide without a design tool.
Do I need a finished design before requesting a quote?
No. A written concept, logo, approximate quantity, and delivery requirements can start the discussion. A detailed final quotation may require additional artwork and specification decisions.
Can I use my own logo or a hand-drawn sketch?
Yes. Original artwork helps with detail review, and sketches can explain the layout. Provide accurate wording and identify what may be adapted for production. Use artwork you are authorized to reproduce.
What size should I choose for my challenge coin?
Choose a size based on the artwork, text, and intended use. Review an actual-size layout and ask the manufacturer to assess fine details. More space is useful only if it improves the design.
Can the front and back have different designs?
Yes. Plan each side separately, then confirm their visual relationship, relative orientation, colors, and manufacturing requirements in the production proof.
Can I add names or individual serial numbers?
Ask about the available personalization methods, placement, and charges. Submit variable information in a clear data table and check it for duplicates, omissions, and order.
Can I use a photograph on a challenge coin?
A photograph can be used as design input. Faithful photo reproduction and a sculpted metal interpretation require different approaches, so explain which outcome you want and confirm an appropriate process.
How much does it cost to make your own challenge coin?
Cost depends on quantity, dimensions, material, artwork, manufacturing options, packaging, and shipping. Provide those details for a meaningful quote and compare the complete scope.
Can I order just one custom challenge coin?
Single-piece availability depends on the supplier and product format. Baijisen’s custom challenge coin page currently lists a 30-piece minimum. Confirm the conditions for your specific project.
How long does a custom challenge coin project take?
Confirm artwork, sampling, production, and shipping separately. Provide your destination and required arrival date so the complete schedule can be assessed.
Will the finished coin look exactly like the digital rendering?
A rendering helps explain the design, but screen display, simulated lighting, and real materials can differ. Confirm important colors, finishes, and relief through production specifications and sampling where needed.
What should I check before approving the design?
Check spelling, names, dates, logos, dimensions, orientation, colors, metal areas, and special features. Also verify quantities, packaging, and the final file version.
Can I reorder the same design later?
Ask about tooling retention, artwork records, and reorder conditions during the first purchase. Reconfirm specifications and timing for subsequent orders, and provide an original sample if matching is important.