中文
Design Your Own Challenge Coin
To design your own challenge coin, define its purpose, arrange the front and back, choose suitable dimensions, coordinate text, colors, and metal details, and approve a production proof before manufacturing. You can begin with a logo, a sketch, or a written idea.
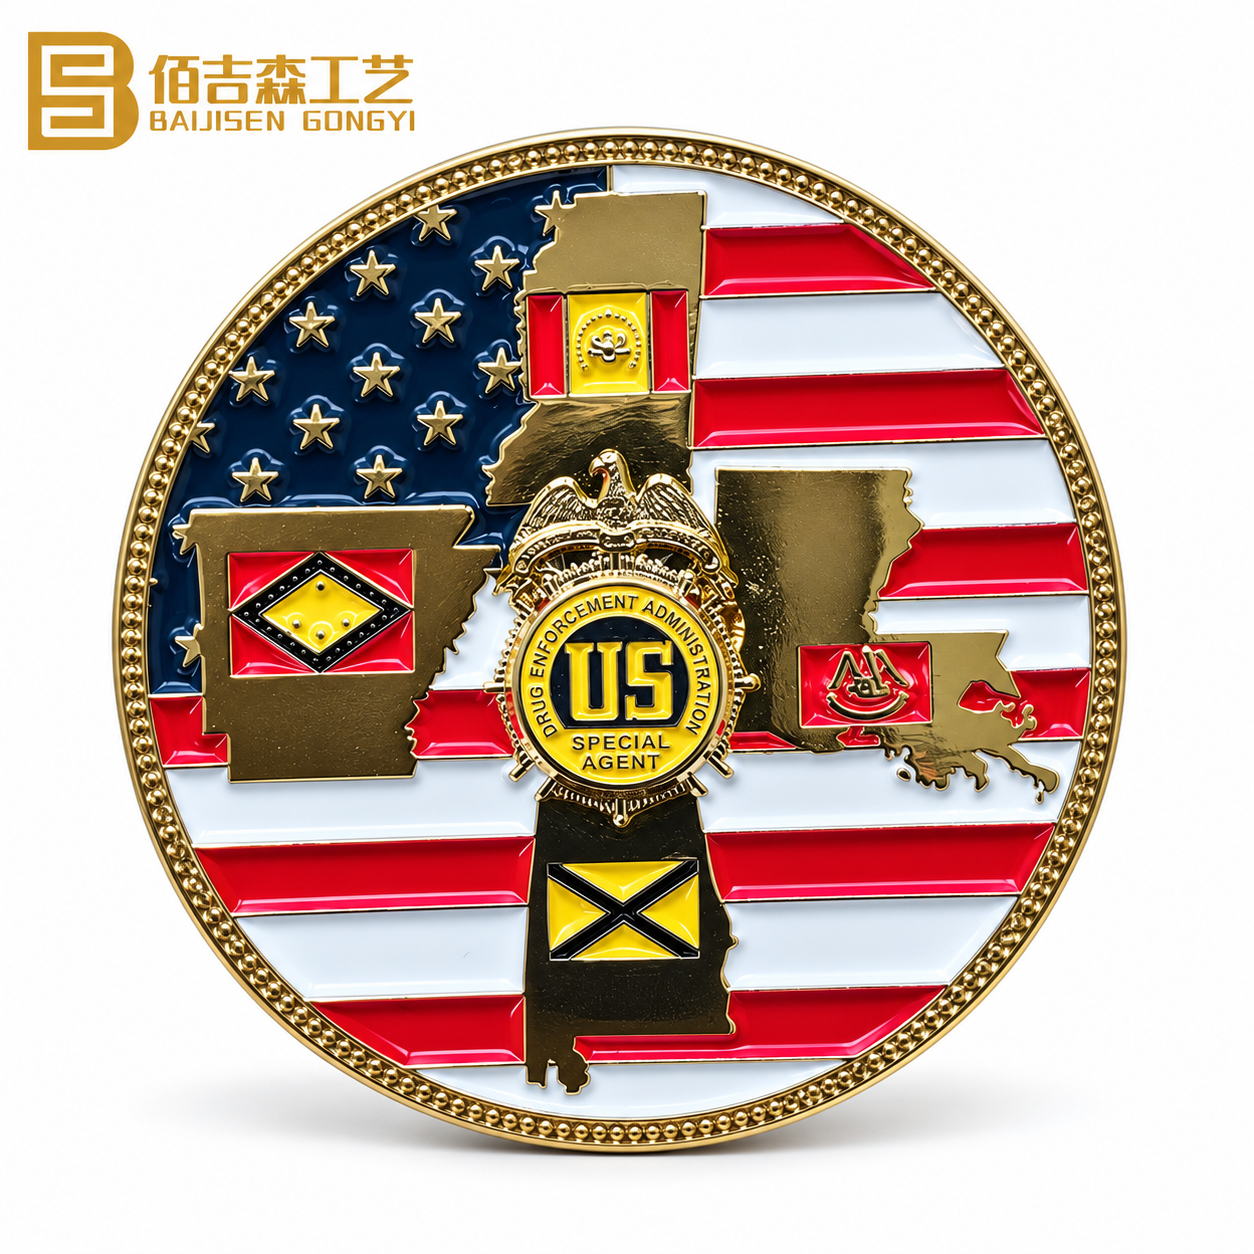
A successful design makes its main message easy to recognize at the finished size. It also gives the manufacturer clear instructions about the artwork, exposed metal, color areas, relief, and dimensions.
This guide helps you organize those decisions. It includes layout examples, a visual planning guide, manufacturing considerations, a copyable design brief, and a proof approval checklist.
Start with the Information You Already Have
- Have a finished design? Send the artwork and exact wording for review.
- Have only a logo or idea? Describe the purpose and the content you want on each side.
- Unsure about specifications? Identify the decisions where you need recommendations.
- Planning an order? Include estimated quantity, destination, and required arrival date.
Prepare Your Design Brief Email Your Artwork or Idea
Baijisen’s custom challenge coin page currently lists a 30-piece minimum order. Confirm the requirements for your artwork, versions, and selected manufacturing options.
Three Steps to Start Your Challenge Coin Design
You do not need to decide every process before starting. First establish the message, then organize the artwork, and finally identify the specifications that need review.
1. Define the Purpose and Essential Content
Write one sentence explaining what the coin represents. For example, it might recognize an employee achievement, mark a company anniversary, or commemorate a team event.
List the essential logo, names, dates, and wording. Separate these from optional decoration. This gives the design a clear priority.
2. Sketch the Front and Back
Draw two simple outlines and label the main image, supporting text, and background. A rough sketch is useful because it explains placement; it does not need to look like a finished illustration.
3. Request Artwork and Manufacturing Review
Submit the sketch or files with your preferred size, estimated quantity, and delivery requirements. Ask for recommendations where the choices remain open.
A concept expresses your desired appearance. A production proof records the instructions needed to manufacture it. Fine lettering, small color areas, relief, and structural details should be assessed before approval.
Understand the Main Areas of a Challenge Coin Design
The central artwork, text ring, border, and edge have different roles. Planning them together helps protect the space available for the message.
Central Artwork
The main logo, emblem, anniversary number, or symbolic image should establish the theme. Give it enough space to remain recognizable.
Text Ring and Face Border
The text ring holds names, short mottos, or dates. The face border frames the composition. Their widths affect the remaining central area.
Coin Edge
The edge defines the perimeter treatment. Discuss it alongside shape and outer lettering, rather than adding it after the layout is complete.
Metal Levels, Color Areas, and Background
Specify raised and recessed areas, exposed metal, color fill, and background texture. These details determine how the design becomes a physical surface.
Plan a Clear Front and Back Layout
Give each side a defined role. One can lead with the logo or main theme, while the other provides commemorative information.
| Project | Front | Back |
|---|---|---|
| Company anniversary | Logo and anniversary number | Commemorative years and appreciation message |
| Team coin | Team emblem and name | Motto and event information |
| Recognition coin | Organization identity and award theme | Achievement wording and approved personalization |
These are starting points, not required formats. Choose the arrangement that best communicates your purpose.
Create a Visual Hierarchy
Decide what the viewer should notice first. Use proportion, position, spacing, and contrast to separate that element from supporting information.
- Keep one main focal point on each side.
- Reduce duplicate wording.
- Allow space around important symbols.
- Move longer messages to the back or a presentation card.
- Check the complete design at its intended size.
Keep Both Sides Connected
Coordinate fonts, colors, border treatments, metal finishes, and illustration style. The sides can show different content while maintaining a consistent identity.
Specify the Relative Orientation
Record how both sides should align when the coin is turned over. Separate front and back drawings may not fully communicate this requirement.
Choose Dimensions and Shape for the Artwork
Size affects available space, weight, cost, and packaging. Shape changes how the available space can be used.
| Diameter | Metric equivalent | Design question |
|---|---|---|
| 1.5 inches | 38.10 mm | Is the content concise enough to remain clear? |
| 1.75 inches | 44.45 mm | Do the artwork, lettering, and border fit comfortably? |
| 2 inches | 50.80 mm | Does the added space improve readability? |
These dimensions are discussion examples. They do not establish a best size for every project.
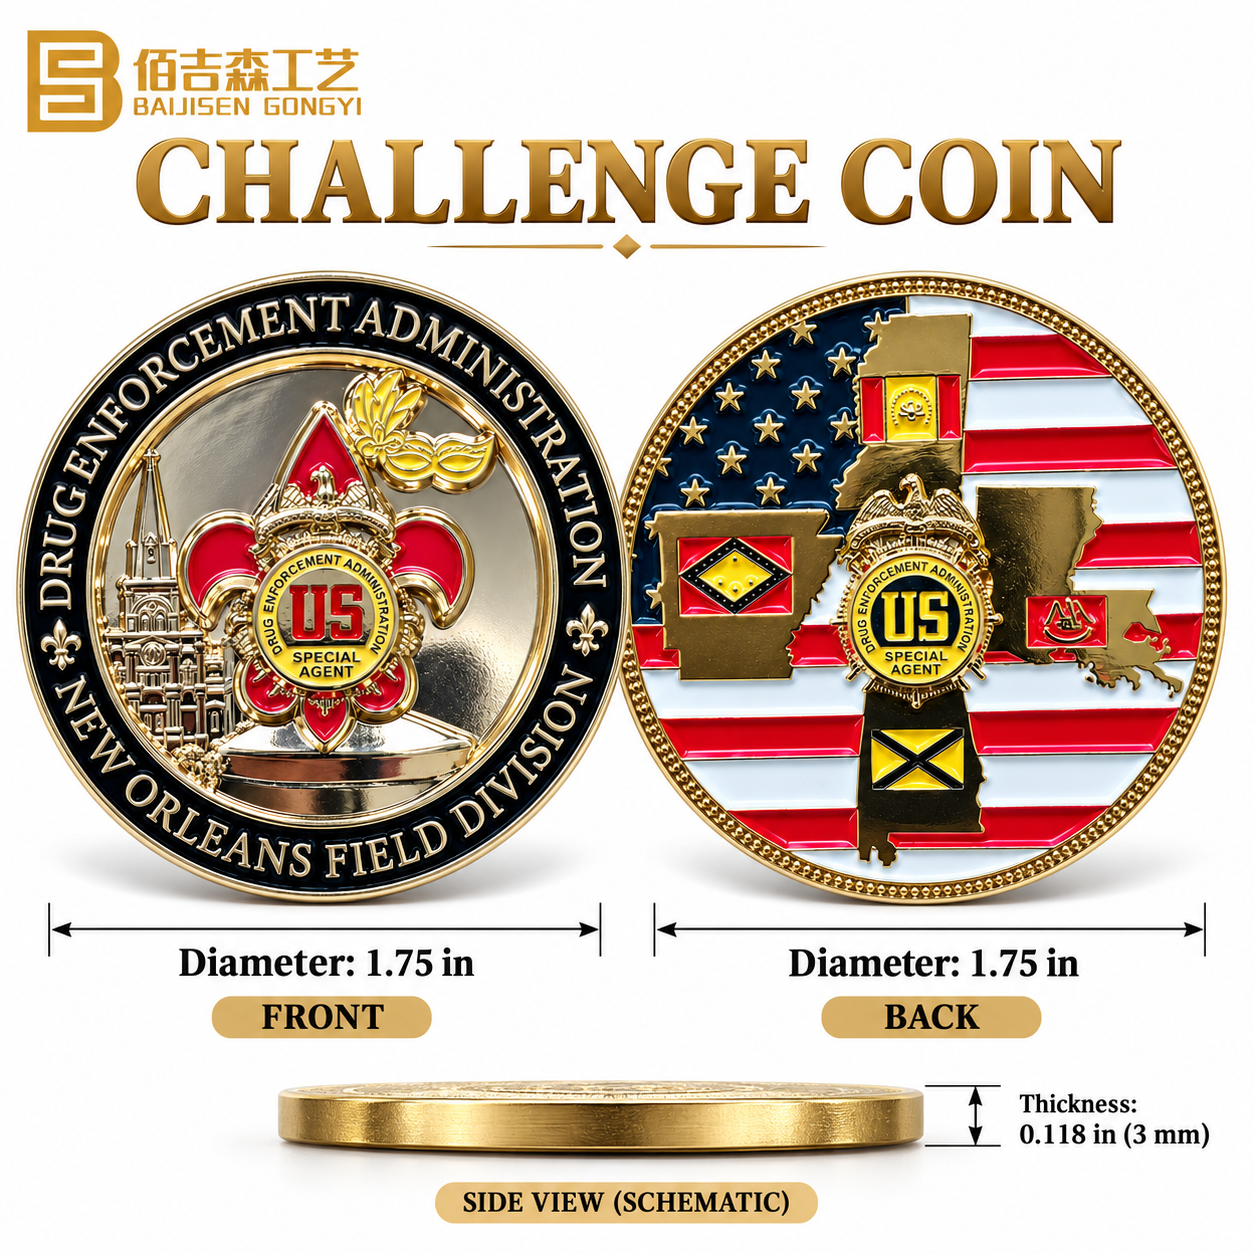
Review an Actual-Size Layout
Print the artwork at its intended dimensions or view it with a reliable size reference. Check lettering, logo details, narrow spaces, and the balance between both sides.
When printing, confirm the output scale and measure the result. A page-fitting setting may change the intended dimensions.
Measure Custom Shapes Clearly
Provide maximum width and height for irregular outlines. Consider narrow projections, recessed contours, structural connections, and packaging fit.
Two shapes with the same maximum dimension may have different amounts of usable artwork space.
Coordinate Thickness with Relief and Packaging
Clarify whether thickness refers to the body or includes the highest raised feature. Discuss it together with the manufacturing method, desired feel, and fitted cases or box inserts.
Check Text and Logo Readability
Text that looks clear in enlarged artwork may become difficult to read on the finished coin. Evaluate it at the proposed size.
Keep Wording Focused
Preserve essential names, themes, and dates. Shorten supporting text where appropriate, with approval for changes to official wording.
Choose Clear Letterforms
Assess thin strokes, decorative details, tightly spaced letters, and similar-looking characters. Curved text needs its own spacing review.
Minimum lettering sizes and line widths depend on the artwork and manufacturing process. Request a specific assessment instead of applying a universal limit.
Use a Practical Text Test
- Place all required wording in the actual-size layout.
- Read both sides without enlarging the artwork.
- Identify crowded phrases or unclear characters.
- Shorten wording or revise placement before reducing size further.
- Submit the revised layout for production review.
Protect Logo Identity When Simplifying
Identify essential proportions, outlines, lettering, and brand colors before changing detail. Any adjustment affecting recognition should be approved.
Provide a Separate Text List
Supply copyable front and back wording, names, dates, numbering, capitalization, and punctuation requirements. Compare this list with the final proof.
Choose Colors and Metal Finishes Together
Exposed metal is part of the visual composition. Plan it alongside color areas, lettering, texture, and relief.
Create Subject-to-Background Contrast
Contrast can come from color, metal tone, surface texture, or different levels. Consider how reflections may affect recognition under different viewing conditions.
Specify Brand Colors
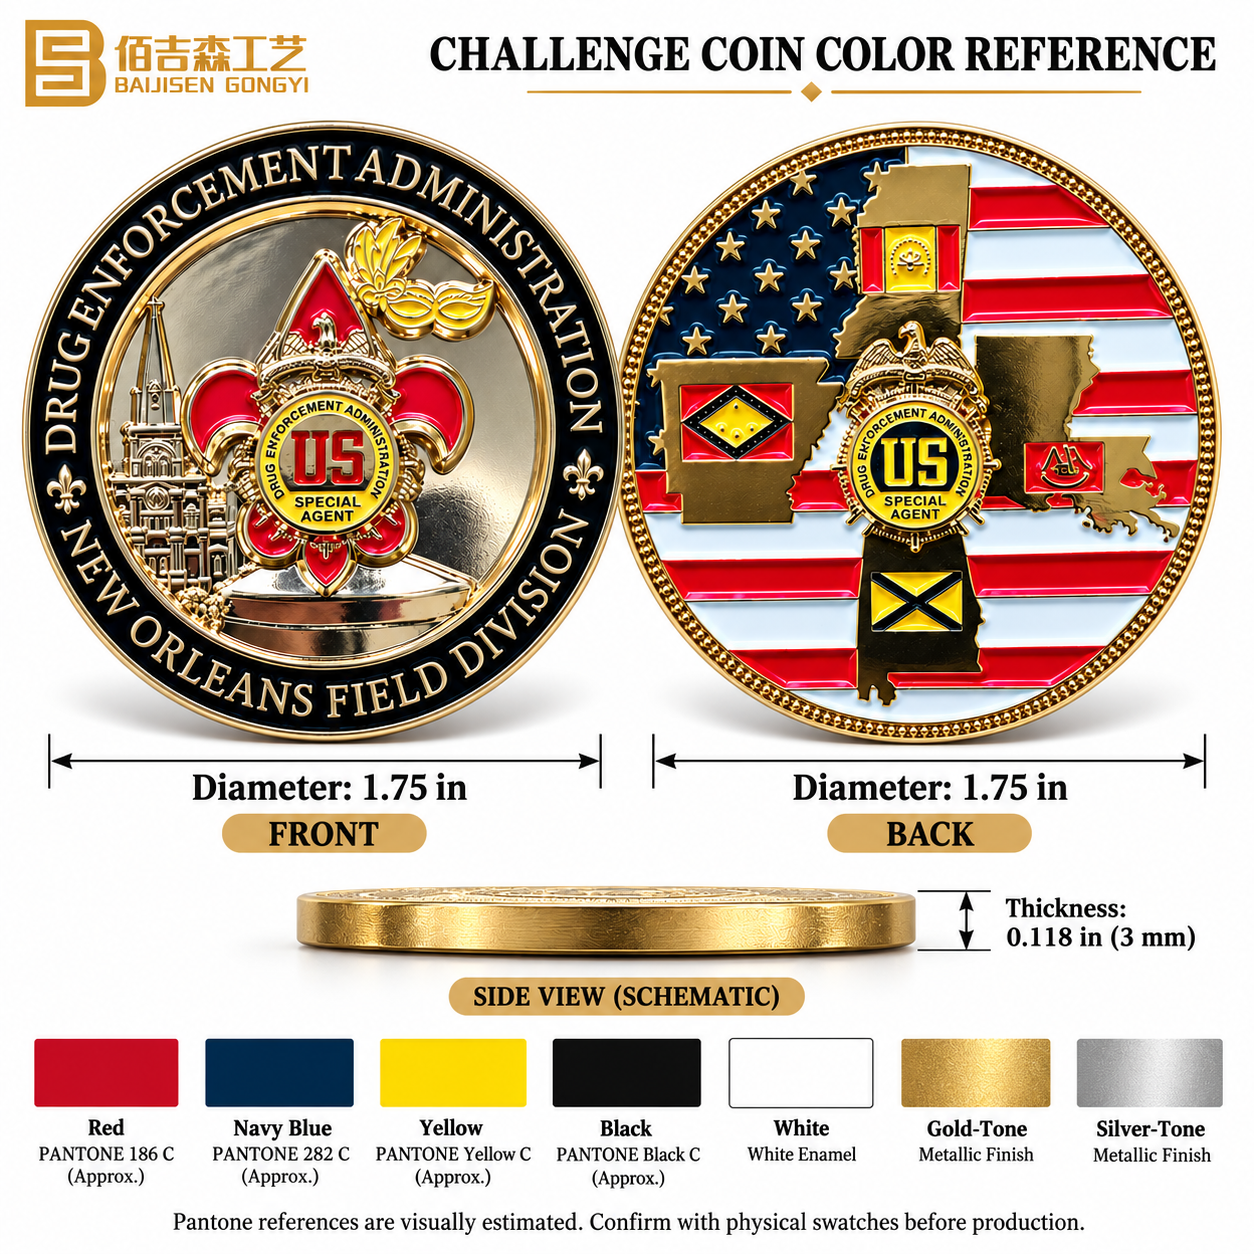
Provide approved color references or brand guidelines and label each corresponding area. Agree on how important colors will be checked, including whether a sample is appropriate.
Screen previews and finished materials can look different. A digital color selection alone may not define every aspect of the physical result.
Match the Process to the Design Priority
| Priority | Possible direction | Review point |
|---|---|---|
| Separated solid colors | Enamel fill with defined metal borders | Small areas and dividing lines |
| A comparatively level colored surface | Hard enamel | Compatibility with detail and finish |
| A metal-focused appearance | Uncolored relief and contrasting texture | Clarity without color separation |
| Photos or gradients | Suitable printing or simplified artwork | Tonal detail and surface requirements |
Soft enamel generally retains a height difference between fill and raised metal lines. Hard enamel typically involves filling and finishing to create a comparatively level surface. Confirm the available process combinations for your specific design.
Evaluate the Metal Finish
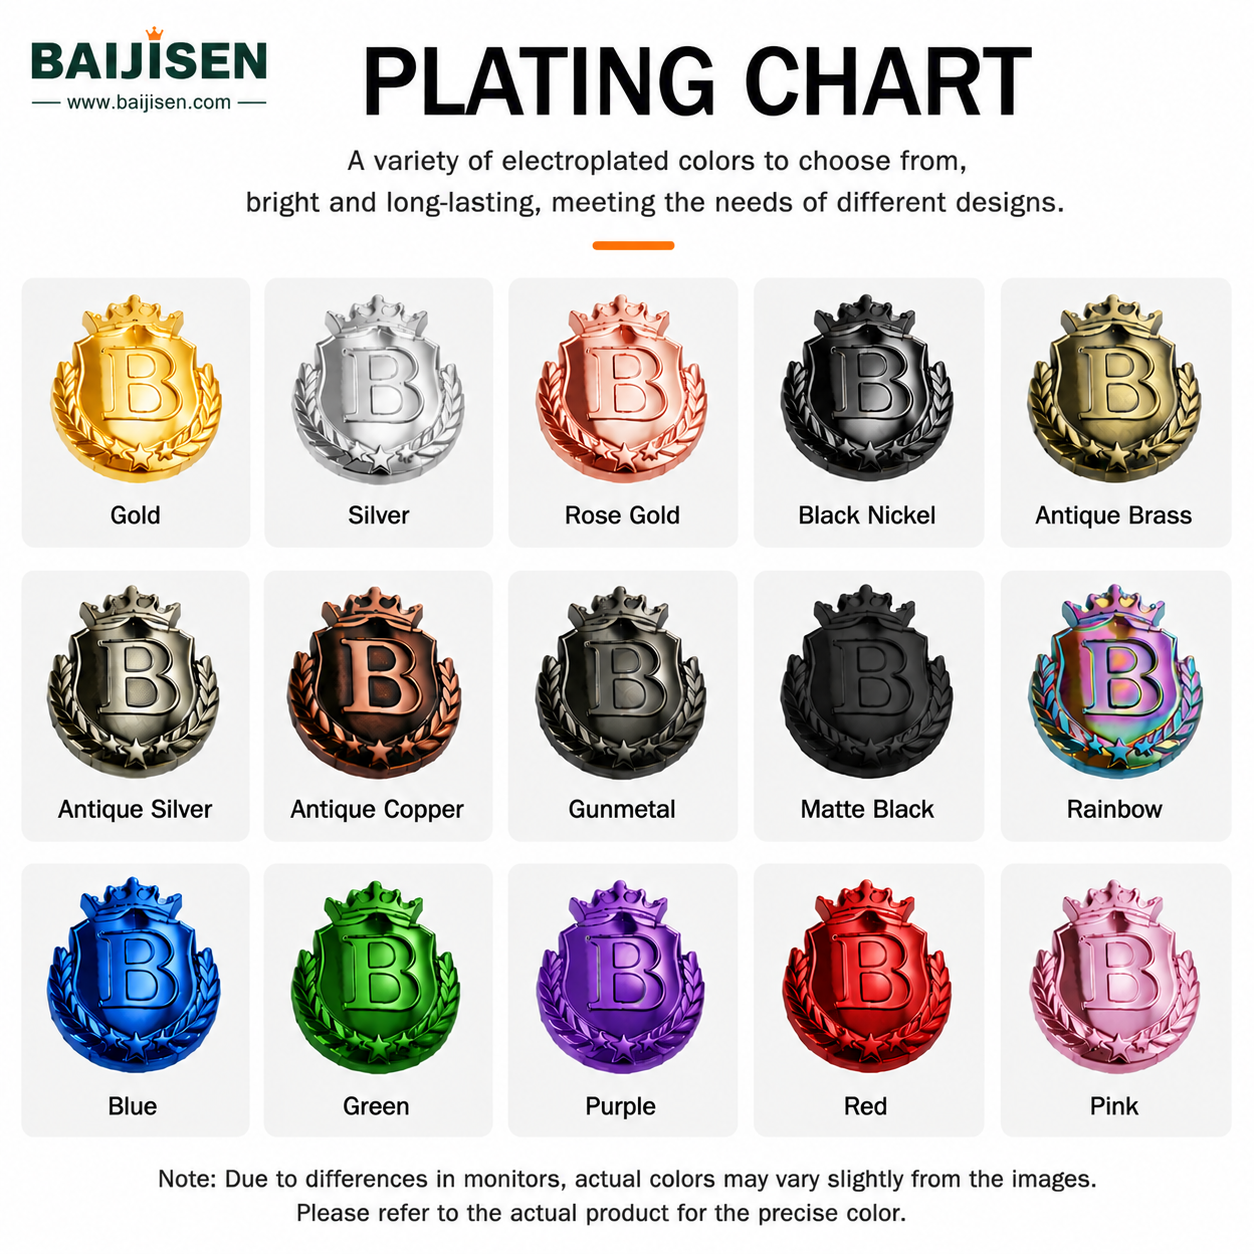
Bright, antique, and darker effects can change the visual character of the same artwork. Compare lettering, relief, and brand colors against relevant physical references where available.
Specify the actual material and surface treatment. Terms such as “gold” and “silver” alone may describe appearance without defining the process.
Compare 2D Details and 3D Relief
Choose the form of relief according to the subject and the appearance you want.
| Approach | Design direction | Questions to review |
|---|---|---|
| Defined 2D levels | Graphic logos, lettering, geometric forms, and clear outlines | Are levels and color boundaries clearly separated? |
| Sculpted 3D relief | Subjects where volume and contour are important | Can the subject remain recognizable at the chosen size? |
| Relief combined with color | A dimensional subject with selected colored areas | Does the color preserve the intended metal detail? |
Portraits, animals, and buildings may call for sculpted treatment, while a graphic emblem may be better served by defined levels. Neither approach is automatically superior.
Interpret Renderings Carefully
Rendered lighting helps visualize form. Confirm which features correspond to actual metal levels and surface treatments. Discuss sampling where important physical effects require closer assessment.
Plan Edges and Additional Features
Coordinate edges with perimeter text. For numbering, engraving, cut-outs, or personalized names, confirm placement, method, data requirements, and quantity per version.
Evaluate whether each feature strengthens the message or provides a useful function. Include its effect on space, cost, and project arrangements.
Design Revision Example: A Company Anniversary Coin
The following is an illustrative planning example. It does not describe a completed customer order.
Imagine a company wants a coin containing its logo, an anniversary number, a building silhouette, commemorative years, and an appreciation message. The initial layout places everything on the front.
Identify the Main Design Problem
Several elements compete for attention, and the message becomes crowded. The first decision is to make the anniversary theme the visual priority.
| Issue | Proposed revision | Reason |
|---|---|---|
| Logo, building, and number compete | Emphasize the anniversary number and simplify the background | Establish a clear focal point |
| Too much front text | Move the appreciation message and years to the back | Reduce crowding |
| Colors are only shown on screen | Provide references and label color areas | Clarify production requirements |
| Relief is suggested only by shadows | Define raised and recessed areas | Explain the intended metal structure |
| The box is undecided | Confirm the presentation format with dimensions | Check fit before final approval |
Review the Result at the Proposed Size
Check logo recognition, text, spacing, and the relationship between both sides. If detail remains crowded, revise the layout before adding decorative features.
Turn the Layout into Production Instructions
Add dimensions, finish, color references, metal levels, orientation, and packaging. Review the proof and any agreed sample against those requirements.
Prepare Your Artwork Files for Review
Send editable source files or vector artwork where available. Clear images can support an initial discussion but may require redrawing or preparation.
Organize the Submission
- Original logo or artwork files, if available.
- Exact front and back text in a copyable format.
- Reference images with notes explaining their relevance.
- Dimensions and shape preferences.
- Color requirements and metal finish preferences.
- Essential elements and permitted adjustments.
- Quantity, packaging, destination, and required arrival date.
Confirm accepted file formats and transfer arrangements. Name files clearly by project, side, and version.
Using Design Software or Online Tools
Use familiar tools to arrange the concept. Exported artwork still needs manufacturing review for size, metal structure, color areas, and fine details.
Using AI-Generated Concepts
Check spelling, dates, distorted logos, inconsistent sides, and unclear structures. Identify which elements are essential and provide exact wording separately.
Gradients and rendered shadows may need to become defined relief, color areas, or a suitable printing treatment.
Use This Production Proof Checklist
Approve both the content and the specifications. An attractive preview does not confirm every requirement of the finished order.
| Item | What to verify |
|---|---|
| Wording | Names, spelling, dates, capitalization, and punctuation |
| Artwork | Logo proportions, orientation, and essential detail |
| Layout | Hierarchy, spacing, and actual-size readability |
| Both sides | Complete content and relative alignment |
| Dimensions | Units, maximum size, and thickness definition |
| Colors and metal | References, placement, finish, and surface levels |
| Features | Edges, printing, numbering, engraving, and cut-outs |
| Versions | Correct quantity and variable content for each version |
| Packaging | Presentation format and fit |
| Approval record | Final file and designated approver |
When to Discuss a Physical Sample
A digital proof helps confirm content, layout, and instructions. A physical sample allows assessment of size, feel, reflection, color relationships, relief, and packaging fit.
Agree on sampling requirements, fees, timing, revision conditions, and the artwork version involved.
Keep One Final Approved Version
Review the complete proof after each revision. Retain the final artwork, text list, specifications, and key approvals together for future reference.
Copyable Challenge Coin Design Brief
Copy the following into your email. Complete the details you know and write “please recommend” for open decisions.
Project or organization:
Purpose and recipients:
Front artwork and exact wording:
Back artwork and exact wording:
Elements that must remain unchanged:
Elements that may be adjusted:
Preferred dimensions and shape:
Thickness requirements:
Metal finish:
Color references or brand guidelines:
2D or 3D relief preference:
Names, numbering, or additional features:
Quantity and number of versions:
Packaging:
Delivery country and postal code:
Required arrival date:
Budget direction, if available:
Items where recommendations are needed:
What Happens Next?
Your submitted information provides the basis for discussing the design and specifications. Identify open questions, confirm the scope of artwork assistance, and agree on quotation and proof requirements.
Design assistance, revision arrangements, sampling, pricing, and delivery conditions should be confirmed for the specific project.
Start Your Challenge Coin Design with Baijisen
Kunshan Baijisen Craft Gift Co., Ltd. provides custom challenge coin and metal gift manufacturing services in China, including OEM and ODM projects.
Send a finished design, logo, sketch, or written concept to discuss artwork preparation, dimensions, color treatment, relief, and manufacturing requirements.

Have Artwork Ready?
Email the files with exact wording, estimated quantity, destination, and required arrival date.
Still Developing Your Idea?
Use the design brief above. Explain the message and identify the choices where you need guidance.
Send Your Design Request View Custom Challenge Coins
Email: postmaster@baijisen.com
For production background, read our custom challenge coin manufacturing guide . For supplier evaluation, see how to choose a custom challenge coin maker . Learn more on our About Us page.
Frequently Asked Questions
Can I design my own challenge coin without experience?
Yes. Start with the purpose, logo, exact wording, and a sketch or written idea. The concept can then be reviewed for manufacturing suitability.
Can I design a challenge coin online?
Online tools can help arrange text and images. Their output still needs confirmed dimensions, color and metal instructions, and production review. You can also begin with the written brief in this guide.
Do I need a finished design before contacting Baijisen?
No. A logo, clear idea, essential wording, estimated quantity, and delivery requirements can begin the discussion. Confirm the artwork assistance needed for your project.
What should go on each side?
One side can establish the main identity or theme, while the other adds dates, a motto, or commemorative information. Choose the arrangement that keeps the message clear.
What size should I choose?
Base dimensions on the artwork and wording. Check an actual-size layout, then discuss weight, cost, relief, and packaging.
Should I choose 2D or 3D relief?
Defined levels may suit graphic emblems and text. Sculpted relief may suit subjects where volume is important. Select the approach according to the design.
Can I use a photograph or AI-generated image?
Yes, as design input. Explain whether you want photo reproduction or a metal interpretation. Check generated wording and structures, and confirm the appropriate process.
What artwork files should I send?
Provide editable originals or vector files where available, plus exact text and references. Clear images can support initial communication. Confirm accepted formats with Baijisen.
Is design assistance free?
Confirm the scope and any fees for your project. Artwork preparation, revisions, and complex modeling may require different arrangements.
Can I order just one coin?
Baijisen’s custom challenge coin page currently lists a 30-piece minimum. Confirm the conditions for your design and number of versions.
Will the coin look exactly like the rendering?
Renderings help explain a concept, but simulated lighting and screen colors can differ from physical materials. Confirm important effects through specifications and sampling where appropriate.
What should I check before approval?
Check text, logos, layout, dimensions, both-side orientation, colors, metal levels, features, quantities, packaging, and the final file version.